
Thailand Visa for Indians: The Ultimate Step-by-Step Guide
Planning a trip to Thailand and not sure where to start with the visa process? You're not alone. Getting a Thailand visa for Indians can feel confusing at first — there are multiple visa types, different fee structures, and a bunch of documents to pull together. But honestly, once you know what you're doing, it's pretty straightforward.
This guide is for Indian passport holders who want to visit Thailand for tourism, a short trip, or even an extended stay. No matter if you're a first-time traveler or someone who's been to Thailand before but needs a refresher, this breaks it all down in plain English.
Here's what you'll find inside:
-
Every visa type explained — from the tourist visa to visa on arrival Thailand for Indians, so you pick the right one from the start
-
The full application process — exactly what documents you need, how to apply for a Thailand visa from India, and what the fees and processing timelines look like
-
Approval tips and extension options — because knowing how to extend your Thailand visa and how to boost your chances of getting approved can save you a lot of stress
Let's get into it.
Understanding the Different Types of Thailand Visas for Indians
Tourist Visa: Perfect for Short-Term Travel
The Thailand Tourist Visa (TR) is the go-to option for most Indian travelers. It lets you stay up to 60 days, with a possible 30-day extension at a local immigration office. You can choose between a single-entry or double-entry version depending on your travel plans.
Visa on Arrival: Quick and Convenient Entry Option
Indians can get a Visa on Arrival at major entry points like Suvarnabhumi Airport. It grants a 15-day stay and costs around ₹2,800 (THB 2,000). It's ideal for quick trips, but expect queues during peak season.
e-Visa: The Hassle-Free Digital Alternative
Thailand's e-Visa lets you apply online before traveling — no embassy visits needed. It covers tourist and other visa categories, and your approved visa arrives digitally. Perfect if you want everything sorted before boarding.
Long-Term Visas for Extended Stays
| Visa Type | Best For | Duration |
|---|---|---|
| Non-Immigrant B | Business/Work | 90 days |
| Non-Immigrant ED | Study | 90 days |
| Retirement Visa | 50+ travelers | 1 year |
| Thailand LTR Visa | Remote workers/investors | Up to 10 years |
Picking the right types of Thailand visas upfront saves time and avoids unnecessary hassle later.
Key Requirements Every Indian Traveler Must Prepare
Essential Documents You Cannot Travel Without
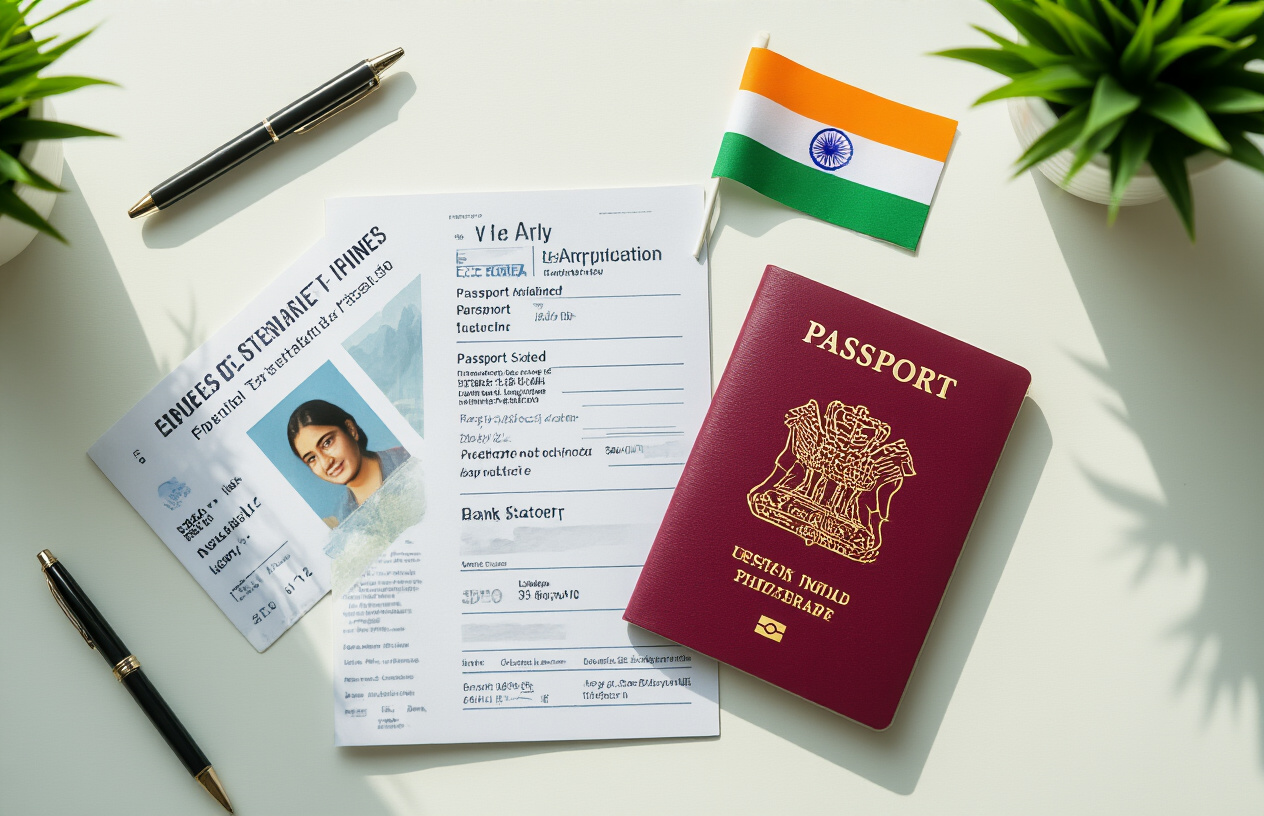
Getting your Thailand visa for Indians approved starts with having the right paperwork ready. Here's what you'll need:
-
Valid Indian passport
-
Completed visa application form
-
Recent passport-sized photographs
-
Proof of financial sufficiency
-
Hotel bookings and return flight tickets
-
Travel itinerary
Passport Validity and Photo Specifications
Your passport must be valid for at least six months beyond your intended travel date. Carry two blank visa pages for stamping.
Photos should be 2x2 inches, taken against a white background, with no glasses or head coverings (unless for religious reasons).
Proof of Financial Sufficiency to Satisfy Authorities
Thai immigration wants to know you won't run out of money mid-trip. As a general rule:
| Requirement | Amount |
|---|---|
| Per person (solo) | THB 10,000 (~₹23,000) |
| Per family | THB 20,000 (~₹46,000) |
Bank statements from the last 3–6 months showing consistent balances work best.
Hotel Bookings and Return Flight Evidence
Book refundable accommodations before applying — Thai authorities want confirmed stays for your entire trip. Pair this with a return flight ticket showing you plan to leave Thailand within your permitted stay period.
Step-by-Step Application Process for Thai Visa
Choosing the Right Visa Category for Your Trip
Pick your visa based on your actual travel purpose. Heading to Bangkok for sightseeing? A Tourist Visa (TR) works perfectly. Attending business meetings? Go with a Business Visa (Non-B). Matching the wrong visa to your trip is one of the most common mistakes Indian travelers make.
Filling Out the Application Form Correctly
Download the Thai visa application form from the Royal Thai Embassy website. Fill it out in block letters, attach a recent passport-size photo (4x6 cm, white background), and double-check every detail — especially your passport number and travel dates. Any mismatch can trigger a rejection.
Submitting Your Application at the Thai Embassy or Consulate
Walk-in submissions are accepted at Thai embassies in Delhi, Mumbai, Chennai, and Kolkata. Carry originals and photocopies of all documents. Some consulates also accept applications via registered post. Confirm your nearest consulate's working hours before visiting — they're typically open Monday to Friday, mornings only.
Tracking Your Application Status Efficiently
Most Thai consulates in India don't offer an online tracking portal. Your best bet is calling the consulate directly or checking via the VFS Global portal if your consulate uses it. Passport collection usually happens 2–3 working days after submission for standard processing.
Thailand Visa Fees and Processing Timelines
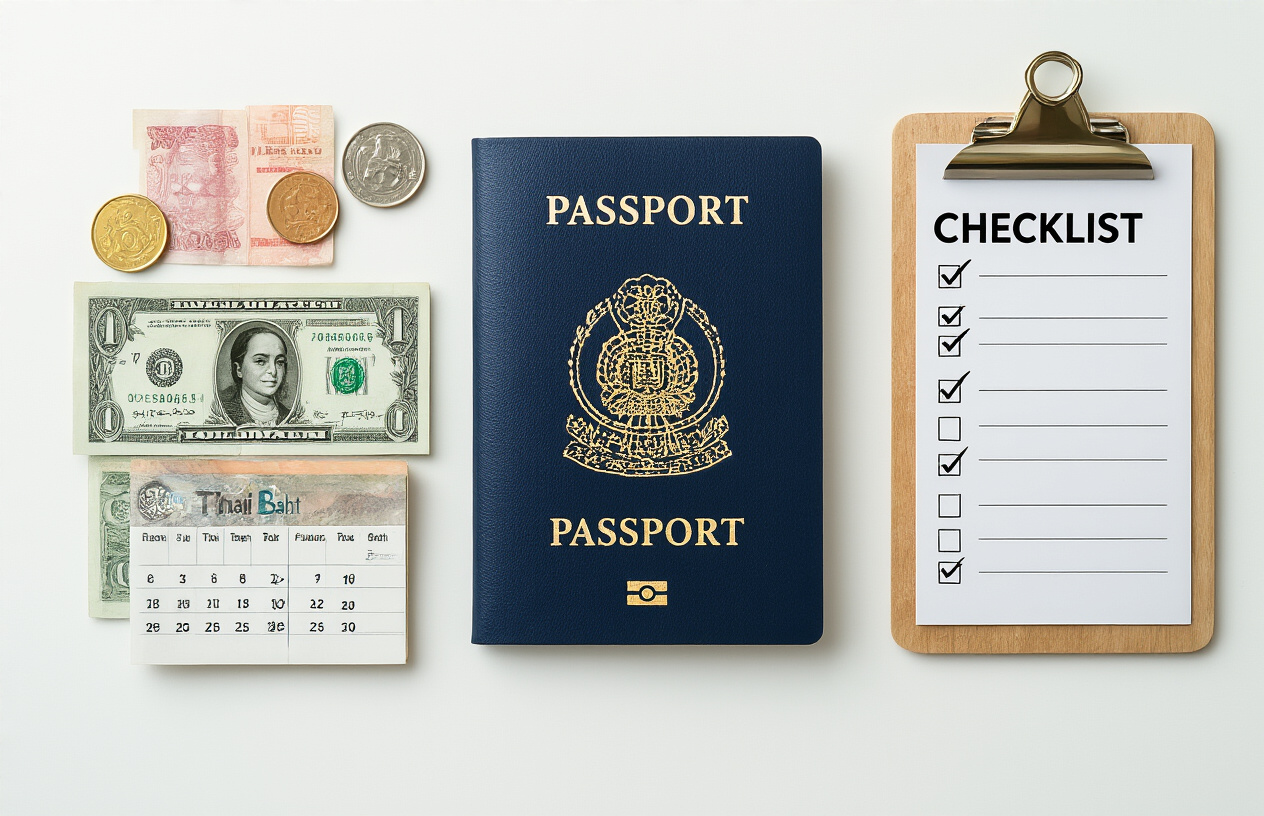
Current Visa Fee Breakdown for Each Visa Type
| Visa Type | Fee (INR approx.) |
|---|---|
| Tourist Visa (TR) – Single Entry | ₹3,000–₹3,500 |
| Tourist Visa – Double Entry | ₹5,500–₹6,000 |
| Non-Immigrant Visa (B, ED, O) | ₹5,500–₹6,500 |
| Visa on Arrival | ₹2,500 (2,000 THB) |
Fees vary slightly depending on the Thai consulate you apply at (Mumbai, Delhi, Chennai, or Kolkata).
Standard vs. Express Processing Options
Standard Thailand visa processing time runs 3–5 working days. Most Indian applicants choose this without any issues.
Need it faster? Express processing (1–2 working days) is available at select consulates for an additional ₹1,500–₹2,000. Book your appointment early—express slots fill up quickly during peak travel seasons.
How to Avoid Unnecessary Delays and Extra Costs
-
Double-check every document before submitting — missing papers are the biggest cause of delays
-
Apply at least 2–3 weeks before travel
-
Use the correct passport-size photos (white background, specific dimensions)
-
Ensure your bank statements cover the last 3 months with a healthy balance
-
Pay fees only through accepted payment methods at the consulate — no third-party agents needed
Visa on Arrival for Indians: Everything You Need to Know
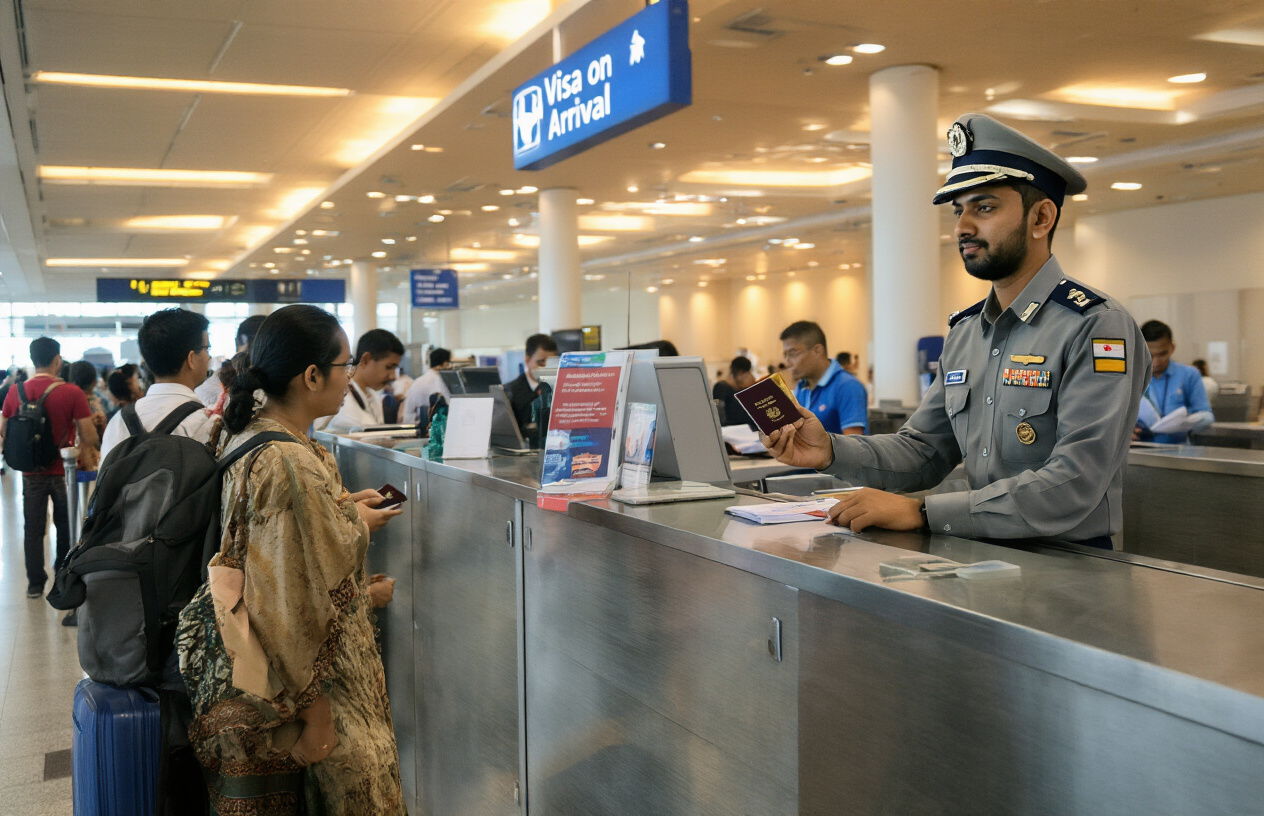
Eligibility Criteria and Entry Conditions
Indians can get visa on arrival Thailand for a 15-day stay (extendable once for another 7 days at an immigration office). You must arrive at designated entry points — Bangkok's Suvarnabhumi, Phuket, or Chiang Mai airports qualify, but not all land borders.
Documents Required at the Immigration Counter
| Document | Details |
|---|---|
| Passport | Valid for 6+ months |
| Passport-size photo | 4x6 cm, white background |
| Return flight ticket | Proof of onward travel |
| Hotel booking | Confirmed accommodation proof |
| VOA fee | 2,000 THB (cash only) |
| Filled arrival card | Available on the flight |
Step-by-Step Process at the Airport
-
Collect and fill the VOA form on your flight
-
Head to the Visa on Arrival counter (not regular immigration)
-
Submit documents and pay 2,000 THB
-
Wait for approval (typically 30–60 minutes)
-
Collect your passport with the visa stamp
Common Mistakes That Lead to Rejection
-
Carrying insufficient cash (under 10,000 THB per person)
-
No confirmed return ticket
-
Blurry or wrong-sized photo
-
Incomplete arrival card
-
Passport with less than 6 months validity
Extending Your Stay in Thailand Legally
When and Why You Should Apply for a Visa Extension
Timing is everything. If you're on a tourist visa or visa on arrival and want to extend Thailand visa, apply before your current visa expires — ideally 3–7 days early. Life happens: you fall in love with Chiang Mai, business meetings run long, or you simply need more time. Extensions keep you legally covered without forcing you to do a border run.
Where to Apply and What to Bring
Head to the nearest Immigration Office (Bangkok's Chaeng Wattana office is the main hub). Bring:
| Document | Details |
|---|---|
| Passport | Valid with at least 6 months remaining |
| TM.7 Form | Available at the immigration office |
| Passport-sized photo | Recent, white background |
| Extension fee | 1,900 THB (~₹4,500) |
| Proof of stay | Hotel booking or lease agreement |
Most tourist visa extensions grant an additional 30 days.
Penalties for Overstaying Your Visa
Overstaying is serious. Thailand charges 500 THB per day, capped at 20,000 THB. Beyond that, you risk arrest, deportation, and a re-entry ban lasting 1–10 years depending on how long you overstayed. Always sort your extension early — it's not worth the headache.
Practical Tips to Maximize Your Chances of Visa Approval
How to Write a Convincing Cover Letter
Keep your cover letter short, honest, and specific. Mention your travel dates, planned itinerary, and purpose of visit clearly. Show strong ties to India — your job, family, or property — so the embassy knows you're coming back. Avoid copy-pasting generic templates; officers spot them instantly.
Financial Proof Strategies That Work
Your bank statements should show consistent balances over 3–6 months, not a sudden large deposit right before applying. Aim for a minimum balance equivalent to ₹1,50,000–₹2,00,000. Salary slips, ITR documents, and a letter from your employer add serious credibility to your Thailand visa application for Indians.
Mistakes to Avoid in Your Visa Application
-
Submitting blurry or uncertified document copies
-
Leaving gaps in your travel itinerary
-
Applying too close to your travel date
-
Inconsistent information across documents
-
Not including return flight tickets or hotel bookings
What to Do If Your Visa Gets Rejected
First, read the rejection letter carefully — it usually explains the reason. Gather stronger financial documents, clarify any inconsistencies, and reapply after a few weeks. You can also try applying through a different Thai consulate in India (Mumbai, Delhi, or Kolkata often have different processing experiences).
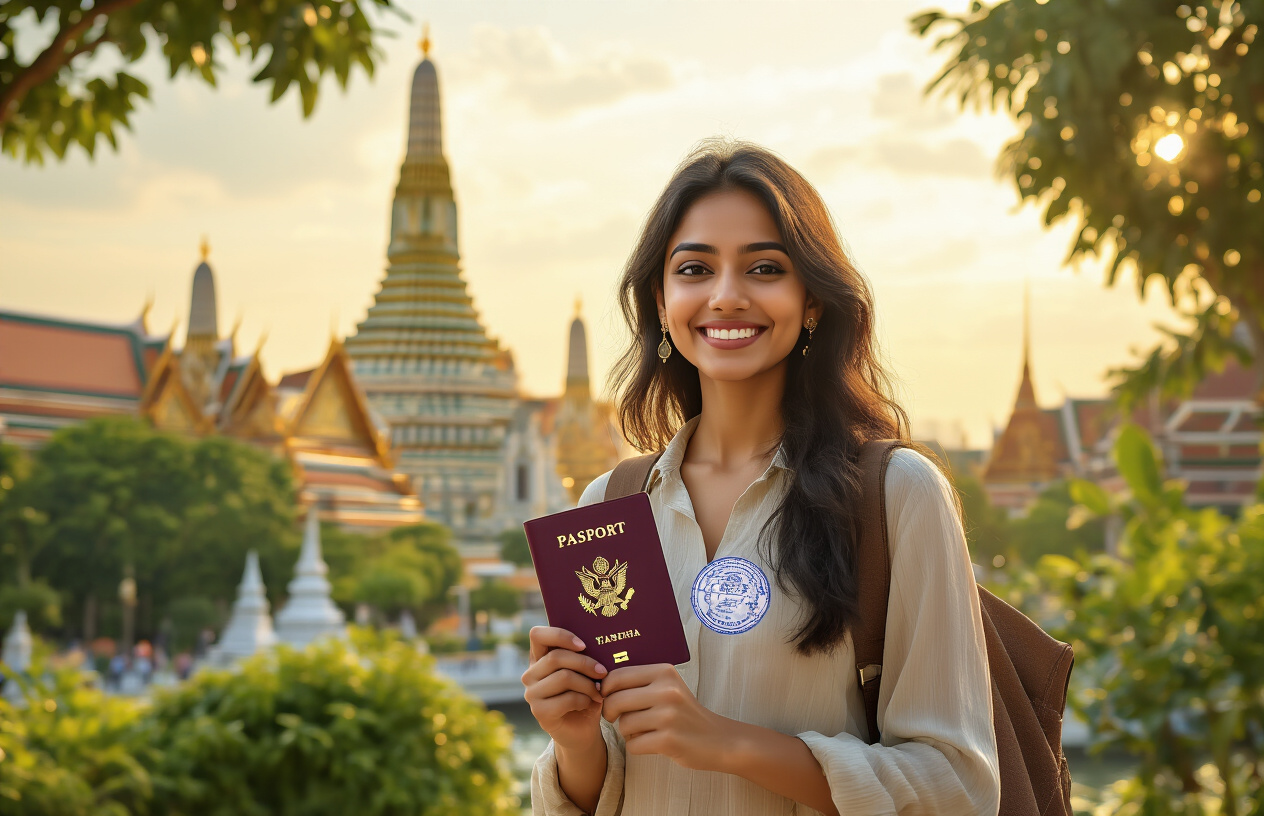
Getting your Thailand visa sorted as an Indian traveler doesn't have to feel overwhelming. From picking the right visa type to gathering your documents, nailing the application process, and knowing your options at the airport — it all comes together when you take it one step at a time. And if your trip goes so well that you want to stay longer, you now know exactly how to extend your stay without any legal headaches.
The biggest thing to take away? Preparation is everything. Double-check your documents, keep your finances in order, and apply well ahead of your travel dates. Thailand is an incredible destination, and a smooth visa process means you can focus on what really matters — exploring the beaches, the temples, the street food, and everything else this amazing country has to offer. So get your paperwork ready and start planning that trip you've been dreaming about!
Post a Comment